Introduction
Transform everyday ingredients into an extraordinary gourmet experience with this Slap Ya Mama Pound Cake. This recipe delivers a surprisingly elegant dessert that’s perfect for parties, potlucks, or a simple weeknight treat. Its ease of preparation belies its impressive flavor profile, and the cake boasts a remarkably long shelf life, making it ideal for baking ahead. The delightful combination of sweet and salty elements creates a truly unforgettable taste sensation.
## Why This Works
The magic of this Slap Ya Mama Pound Cake lies in its perfect balance of sweet and salty flavors. The simple, readily available ingredients make it accessible to any baker, while the quick preparation time means you can enjoy this decadent treat without hours in the kitchen. Its versatility shines—it’s equally delicious served plain or paired with fresh fruit, ice cream, or a dusting of powdered sugar. The elegant presentation makes it a showstopper at any gathering.
## Key Ingredients
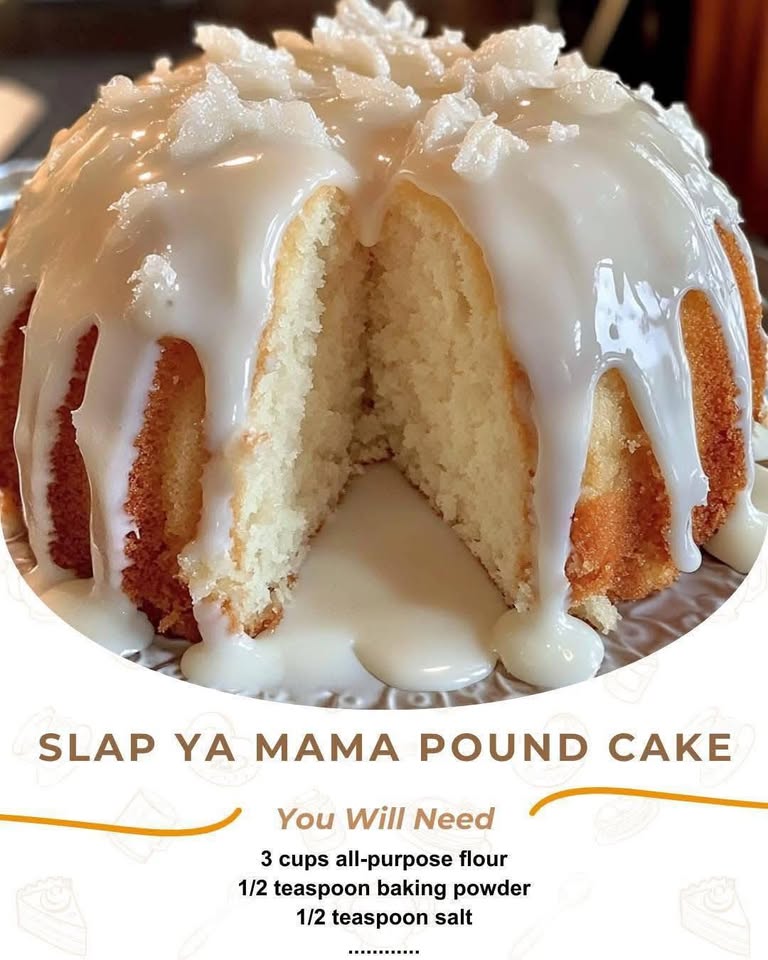
- 3 cups all-purpose flour: Provides the structure and texture of the cake.
- 1/2 teaspoon baking powder: Creates a light and airy crumb.
- 1/2 teaspoon salt: Enhances the sweetness and balances the flavors.
- 1 cup (2 sticks) unsalted butter, softened: Adds richness and moisture.
- 3 cups granulated sugar: Provides sweetness and helps create a tender crumb.
- 6 large eggs, room temperature: Bind the ingredients and add richness.
- 1 teaspoon vanilla extract: Adds a classic sweet aroma and flavor.
- 1 teaspoon almond extract (optional): Enhances the overall flavor profile with a subtle nutty note.
- 1 cup whole milk (room temperature): Adds moisture and helps create a tender crumb.
Instructions
- Preheat the Oven: Preheat your oven to 325°F (165°C). Grease and flour a 10-inch bundt pan or tube pan.
- Prepare the Dry Ingredients: In a medium bowl, whisk together the flour, baking powder, and salt. Set aside.
- Cream the Butter and Sugar: In a large bowl, use an electric mixer to cream the butter and sugar together on medium speed for about 5-7 minutes, or until light and fluffy.
- Add the Eggs and Extracts: Add the eggs, one at a time, beating well after each addition. Mix in the vanilla extract and almond extract (if using).
- Alternate Adding Dry Ingredients and Milk: Gradually add the dry ingredients in 3 parts, alternating with the milk. Start and end with the dry ingredients. Mix on low speed until just combined after each addition.
- Bake the Cake: Pour the batter into the prepared bundt pan and smooth the top with a spatula. Bake for 1 hour 10 minutes to 1 hour 20 minutes, or until a toothpick inserted into the center comes out clean.
- Cool the Cake: Let the cake cool in the pan for about 10-15 minutes before turning it out onto a wire rack to cool completely.
Handy Tips
Avoid overmixing the batter, as this can lead to a tough cake. Ensure your butter is softened but not melted for optimal creaming. Humidity can affect the cake’s texture; store it in an airtight container in a cool, dry place. Handle sugar gently to avoid clumping. This recipe can be easily doubled or tripled for larger gatherings.
Heat Control
Overbaking will result in a dry cake. Use a toothpick test for doneness—a clean toothpick indicates the cake is ready. Watch for the cake to spring back gently when lightly touched. The edges will pull away slightly from the sides of the pan.
Crunch Factor
The careful balance of ingredients and baking time creates a tender, moist crumb with a delightful, slightly crisp edge. The gentle sweetness combines with the subtle saltiness for a perfect textural experience.
Pro Kitchen Tricks
Using high-quality unsalted butter significantly impacts the flavor. Dissolve any sugar crystals that form by gently heating the sugar with a little water before adding it to the butter. Lining the bundt pan with parchment paper ensures easy removal. Prepare the glaze while the cake is baking to save time.
Storage Tips
Store the cooled cake in an airtight container at room temperature for up to 3 days. Glass containers are preferable to plastic for longer storage. Layer slices with parchment paper to prevent sticking. A slightly humid environment can soften the cake, so store it in a cool, dry place.
Gift Packaging Ideas
Present slices in attractive gift boxes tied with ribbon. Use decorative jars for larger portions, adding a personalized label with the recipe name and baking date. Seasonal decorations, like sprigs of holly or festive ribbons, add a special touch. Include a small card with storage instructions.
Flavor Variations
Add chopped nuts (walnuts, pecans) to the batter for added texture and flavor. Drizzle melted dark chocolate over the cooled cake. Incorporate a teaspoon of cardamom for a warm, spicy note. Experiment with seasonal extracts like peppermint or orange.
Troubleshooting
Grainy caramel can result from uneven heating. Sticky cake may indicate underbaking. Uneven coating can be avoided by ensuring even distribution of glaze. Reheat gently in a low oven to restore moisture.
FAQ
Q: How long does the cake stay fresh? A: Up to 3 days at room temperature in an airtight container.
Q: Are there gluten-free alternatives? A: Yes, use a gluten-free all-purpose flour blend.
Q: How do I know when the caramel is done? A: The caramel will reach a soft ball stage when a small amount dropped in cold water forms a soft ball.
Q: How long should I cool the cake? A: Cool completely on a wire rack before glazing.
Q: Is parchment paper necessary? A: It’s helpful for easy removal from the bundt pan.
Q: Can I use a different type of pan? A: A 9×13 inch baking pan may work, but adjust baking time accordingly.
Q: Can I freeze this cake? A: Yes, wrap it tightly and freeze for up to 3 months.
Conclusion
This Slap Ya Mama Pound Cake is more than just a recipe; it’s an experience. Whether you’re gifting it to a loved one, sharing it with friends, or simply enjoying a slice for yourself, this cake is sure to impress. Try it today, and customize it to your liking—the possibilities are endless!