Introduction
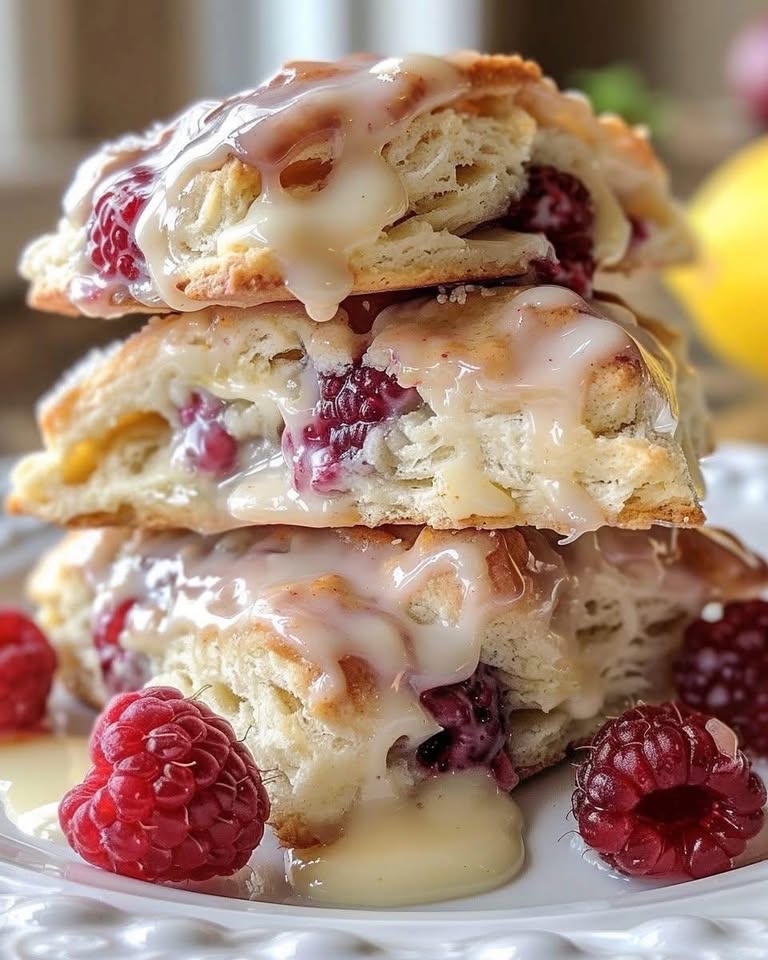
These ridiculously easy lemon raspberry scones transform everyday ingredients into a gourmet treat perfect for any occasion. Imagine the delightful aroma of warm scones, bursting with the tangy zest of lemon and the sweet burst of raspberries, all achieved with minimal effort. These scones are not only incredibly simple to make, but they also boast a surprisingly long shelf life, making them ideal for baking ahead of time for parties or gatherings. Their elegant presentation belies their ease of preparation, making them a perfect choice for both novice and experienced bakers.
## Why This Works
The magic lies in the irresistible combination of sweet and tart flavors. The simple ingredient list makes this recipe accessible to everyone, while the quick preparation time means you can enjoy these delicious scones in a flash. Their versatility allows for customization with various fruits and additions, ensuring they remain a crowd-pleaser. The final result is a beautifully textured scone with a delightful crumb, perfect for an afternoon tea or a special breakfast.
## Key Ingredients
- 1 cup heavy cream
- 8 tablespoons (1 stick) unsalted butter, cold and cubed
- 2 ½ cups all-purpose flour
- ½ cup granulated sugar
- 1 tablespoon baking powder
- ½ teaspoon baking soda
- ¼ teaspoon salt
- Zest of 1 lemon
- 1 cup fresh or frozen raspberries
- 2 tablespoons lemon juice
- Turbinado sugar (for sprinkling)
Instructions
- Preheat & Prep: Preheat oven to 400°F (200°C). Line a baking sheet with parchment paper.
- Combine Dry Ingredients: In a large bowl, whisk together flour, sugar, baking powder, baking soda, and salt.
- Cut in Butter: Cut in the cold butter using a pastry blender or your fingers until the mixture resembles coarse crumbs.
- Add Wet Ingredients: Stir in the lemon zest, heavy cream, and lemon juice until just combined. Do not overmix.
- Fold in Raspberries: Gently fold in the raspberries.
- Shape & Bake: Turn the dough out onto a lightly floured surface and pat into a 1-inch thick circle. Cut into 8 wedges.
- Sprinkle & Bake: Place scones onto the prepared baking sheet, sprinkle with turbinado sugar, and bake for 15-18 minutes, or until golden brown.
- Cool & Serve: Let cool on the baking sheet for a few minutes before transferring to a wire rack to cool completely.
Handy Tips
Don’t overmix the dough; this will result in tough scones. Ensure your butter is very cold for a flaky texture. If the dough seems too dry, add a tablespoon of cream at a time until it comes together. Humidity can affect baking times; adjust accordingly.
Heat Control
Oven temperatures can vary. Start checking for doneness around the 15-minute mark. Look for a deep golden brown color and a firm texture. A toothpick inserted into the center should come out clean.
Crunch Factor
The combination of cold butter and the baking powder/soda creates steam during baking, resulting in layers that separate and give the scones their characteristic crumbly texture. The gentle handling of the dough also contributes to a tender, yet crisp, bite.
Pro Kitchen Tricks
Using high-quality unsalted butter will enhance the flavor. To prevent sugar crystals from sticking to your measuring cups, lightly spray them with cooking spray before measuring. Lining your baking sheet with parchment paper prevents sticking and makes cleanup a breeze. For larger batches, double or triple the recipe, ensuring to use appropriately sized baking sheets.
Storage Tips
Store scones in an airtight container at room temperature for up to 2 days, or in the freezer for up to 3 months. Glass containers are preferable to plastic, as they help maintain freshness. To maintain crispness in humid environments, place a slice of bread in the container to absorb excess moisture.
Gift Packaging Ideas
Present your scones in attractive jars tied with ribbon. Create custom labels with a handwritten message. Use seasonal decorations like sprigs of rosemary or cranberries. Include a small card indicating the best-by date for optimal freshness.
Flavor Variations
Try adding chopped nuts like pecans or walnuts. A drizzle of melted chocolate adds richness. Experiment with cardamom or other warming spices. Incorporate seasonal extracts like orange or almond for unique flavor profiles.
Troubleshooting
If your caramel is grainy, it may be due to insufficient heating or undissolved sugar. Sticky scones may be a result of overmixing or using too much cream. Uneven coating can be avoided by ensuring the scones are evenly spaced on the baking sheet. Reheat slightly in the oven or microwave for a warmer treat.
FAQ
Q: How long do the scones stay fresh?
A: Up to 2 days at room temperature, or 3 months frozen.Q: Are these scones gluten-free?
A: No, they contain all-purpose flour. Use a gluten-free flour blend for a gluten-free alternative.Q: How long do I bake the scones?
A: 15-18 minutes, or until golden brown.Q: How do I cool the scones?
A: Let them cool on the baking sheet briefly before transferring to a wire rack.Q: Is parchment paper necessary?
A: It’s highly recommended to prevent sticking and for easy cleanup.Conclusion
These ridiculously easy lemon raspberry scones are a guaranteed crowd-pleaser. Whether you’re gifting them to friends, serving them at a party, or enjoying them as a simple treat for yourself, these scones are a delightful experience from start to finish. Don’t hesitate to experiment with different flavors and additions to create your own unique version!