Are you craving a cool, creamy, and utterly delicious treat that’s also good for you? Look no further than these homemade Peanut Butter Frozen Yogurt Bars! This recipe is a simple, healthy alternative to store-bought ice cream bars, packed with protein from Greek yogurt and the satisfying crunch of peanuts (optional). These bars are perfect for a hot summer day, a post-workout snack, or just a delightful anytime indulgence. They’re easy to make, requiring minimal ingredients and no special equipment. Get ready to experience a flavour explosion that will leave you wanting more!
Recipe: A Brief Description
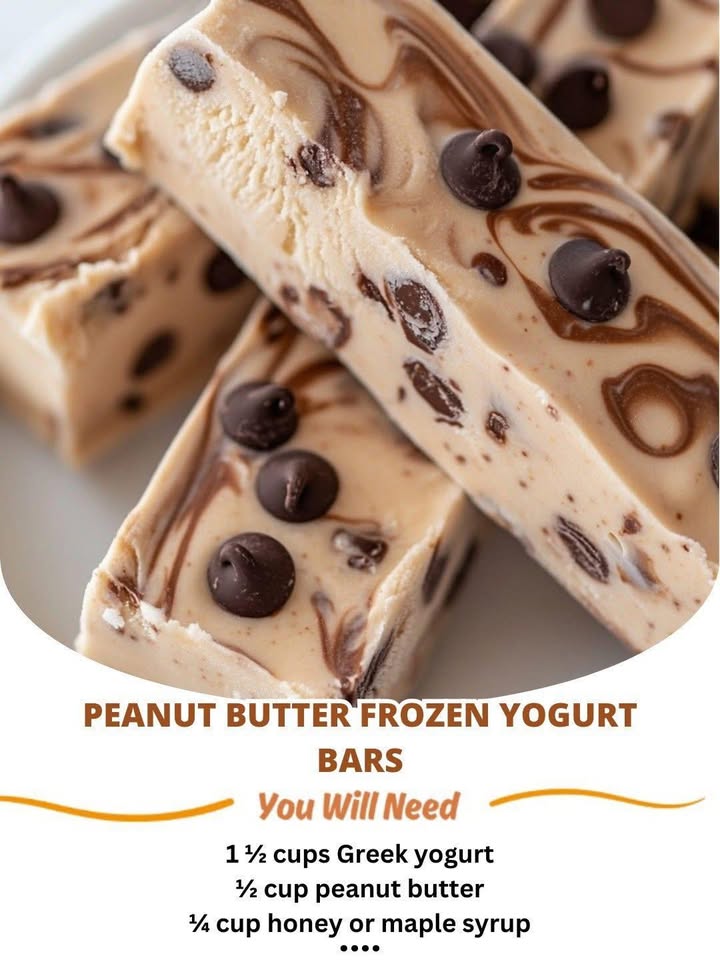
This recipe creates a delightful batch of frozen yogurt bars infused with the rich, nutty flavour of peanut butter and a touch of sweetness. The creamy texture of Greek yogurt provides a healthy base, while optional chocolate chips and chopped peanuts add delightful textural contrasts and extra flavour. The entire process is straightforward, requiring only simple mixing and freezing, making it an ideal recipe for both novice and experienced bakers.
Ingredients: A Detailed List
This recipe calls for simple, readily available ingredients. The quantities listed below will yield approximately 12 bars, depending on your baking pan size.
* 1 ½ cups plain Greek yogurt: The higher the protein content the better! Full-fat Greek yogurt will yield the creamiest bars. You can also experiment with different flavored Greek yogurts, such as vanilla or honey, but adjust the added sweetener accordingly.
* ½ cup peanut butter: Use your favorite kind! Creamy peanut butter will result in a smoother texture, while crunchy peanut butter will add a delightful textural element. Natural peanut butter works well too, but be aware that it might require a bit more mixing to combine smoothly.
* ¼ cup honey or maple syrup: This provides the necessary sweetness. Honey offers a slightly richer flavor, while maple syrup contributes a more complex, subtle sweetness. Adjust the amount to your preference depending on the sweetness of your yogurt and peanut butter.
* 1 teaspoon vanilla extract: This enhances the overall flavor of the bars and complements the peanut butter beautifully. Pure vanilla extract is recommended for the best taste.
* ¼ cup mini chocolate chips (optional): These add a delightful chocolatey burst and a pleasing textural contrast. Use dark chocolate, milk chocolate, or semi-sweet chips, according to your preference.
* ¼ cup chopped peanuts (optional): These provide a satisfying crunchy texture and extra nutty flavor. Use roasted, salted, or unsalted peanuts depending on your taste. You can also substitute other nuts like almonds or cashews.
Directions/Instructions: Step-by-Step Preparation
1. Combine Ingredients: In a medium-sized bowl, combine the Greek yogurt, peanut butter, honey (or maple syrup), and vanilla extract. Mix thoroughly until all ingredients are well incorporated and the mixture is smooth and creamy. If using natural peanut butter, you might need to use a whisk or electric mixer to ensure a completely smooth consistency.
2. Add Mix-ins (Optional): If using mini chocolate chips and/or chopped peanuts, gently fold them into the yogurt mixture. Be careful not to overmix, as this can cause the chocolate chips to melt slightly.
3. Prepare the Pan: Line an 8×8 inch baking dish or a similar-sized container with parchment paper, leaving an overhang on the sides to facilitate easy removal later. This will prevent sticking and make it easier to cut the bars. Lightly grease the parchment paper with cooking spray or a little bit of oil.
4. Pour and Freeze: Pour the yogurt mixture into the prepared baking dish and spread it evenly. Use a spatula to create a smooth, even top.
5. Freeze: Cover the baking dish tightly with plastic wrap or aluminum foil and place it in the freezer for at least 4-6 hours, or preferably overnight, until the bars are completely frozen solid.
6. Cut and Serve: Once frozen solid, remove the baking dish from the freezer and let it sit at room temperature for about 5-10 minutes to slightly soften the bars. This will make cutting easier. Using the parchment paper overhang, lift the frozen yogurt slab out of the dish and place it on a cutting board. Cut the slab into 12 equal bars using a sharp knife.
7. Enjoy! Serve the frozen yogurt bars immediately or store them in an airtight container in the freezer for up to 2 weeks.
FAQ: Frequently Asked Questions
Q: Can I use other types of yogurt?
A: While Greek yogurt is recommended for its creaminess and protein content, you can experiment with other types of yogurt, such as regular yogurt or even coconut yogurt. However, the texture and flavor might vary slightly. You may also need to adjust the amount of sweetener accordingly.
Q: Can I make these bars without the optional ingredients?
A: Absolutely! The basic recipe is delicious on its own. Feel free to omit the chocolate chips and peanuts if you prefer a simpler version.
Q: How long can I store these bars?
A: Stored properly in an airtight container in the freezer, these bars will last for up to 2 weeks.
Q: Can I use a different sweetener?
A: Yes, you can experiment with other sweeteners like agave nectar or date syrup. Keep in mind that the flavor and sweetness will vary.
Q: Can I use different nuts?
A: Yes! Almonds, cashews, or even pecans would be delicious substitutes for peanuts.
Conclusion
These Peanut Butter Frozen Yogurt Bars are a fantastic treat that’s both delicious and healthy. The simple recipe and minimal ingredients make them easy to whip up, perfect for a quick dessert or a satisfying snack. The combination of creamy yogurt, nutty peanut butter, and optional chocolate chips and peanuts creates a symphony of flavors and textures that will delight your taste buds. So, what are you waiting for? Gather your ingredients, follow the steps, and prepare to enjoy a truly rewarding and refreshing frozen treat! We guarantee these bars will become a new family favorite.